Getting Started With StoryBoard in iOS
With the introduction of storyboard in new Xcode 4.x makes designing your iOS app so much easier. Storyboard allows you to graphically order all your views within a single canvas, where you can design the app’s logical flow and even assign transition animation. So without wasting any time let’s get started with our first iOS application using StoryBoard.
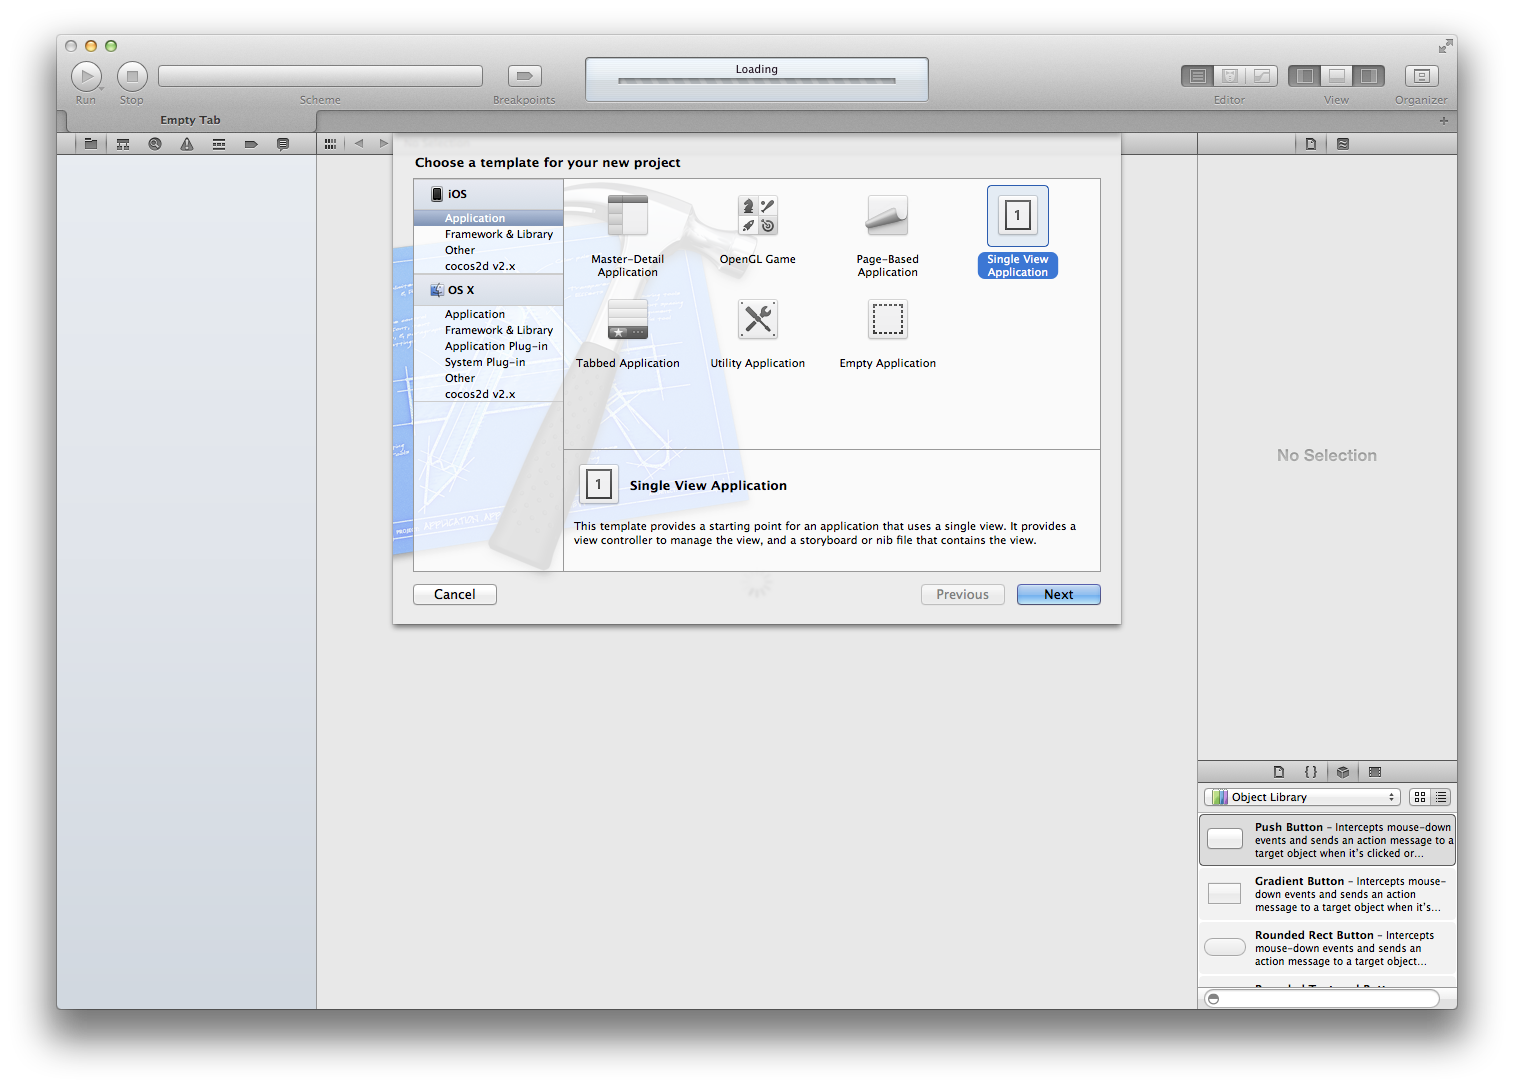
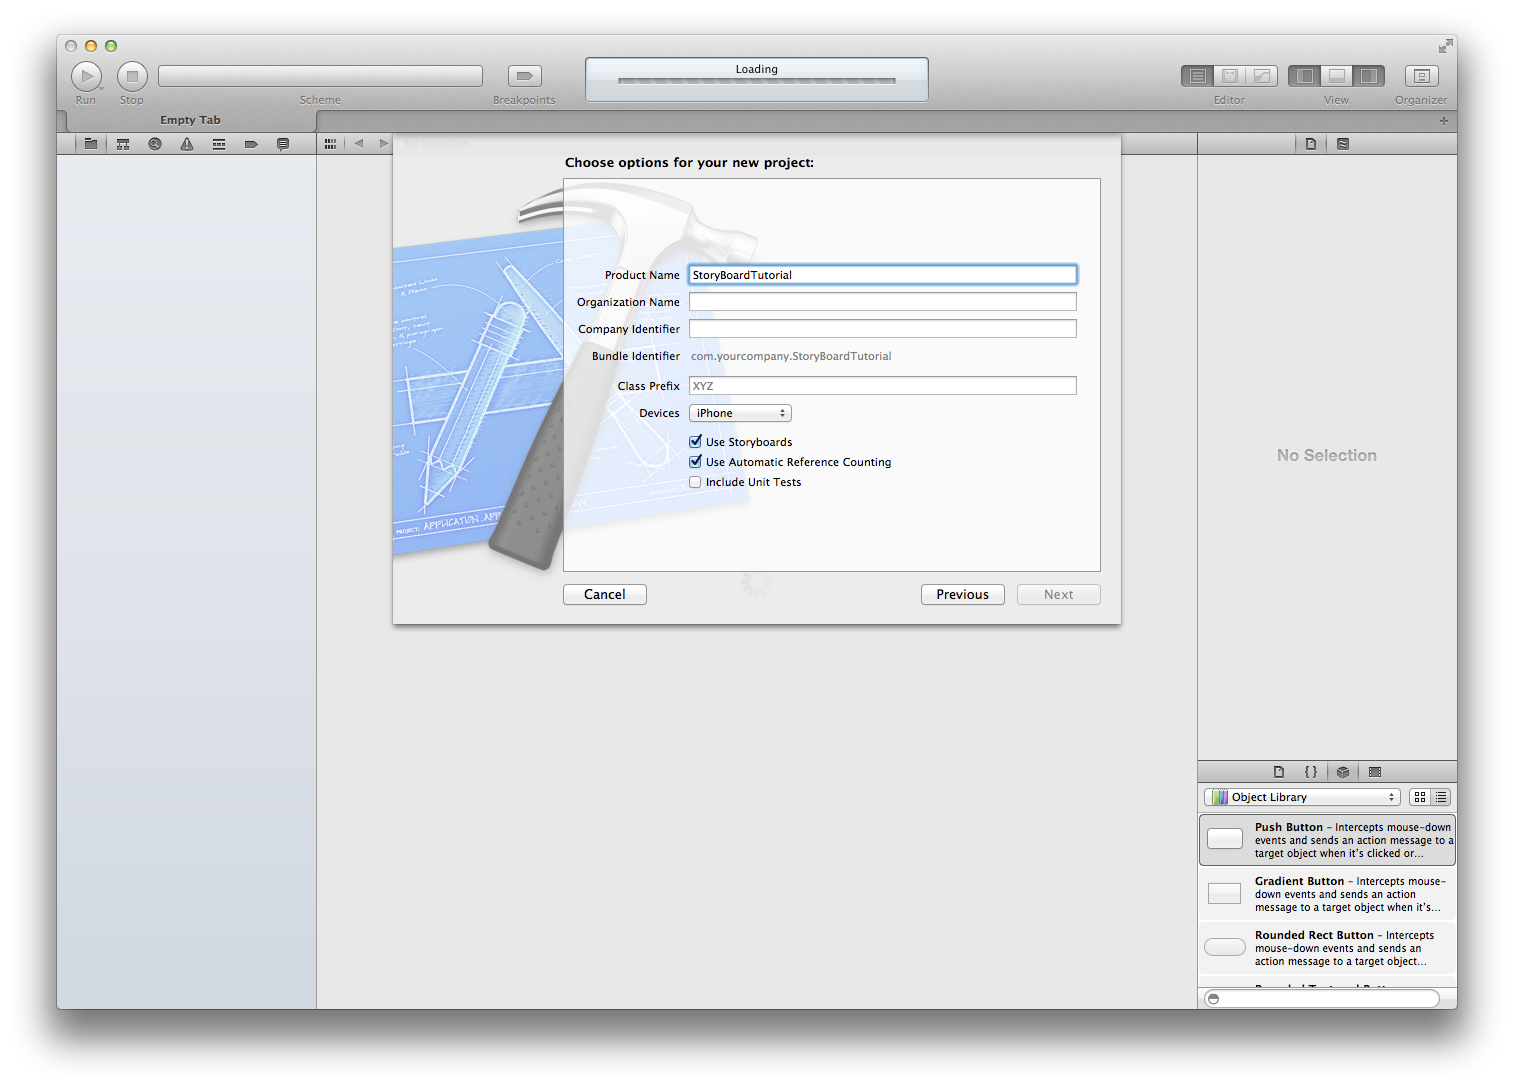
Step1: Open Xcode 4.x and create a Single View Application, name it “StoryBoardTutorial”, while providing name the make sure to check the use storyboard checkbox situated in the lower portion.
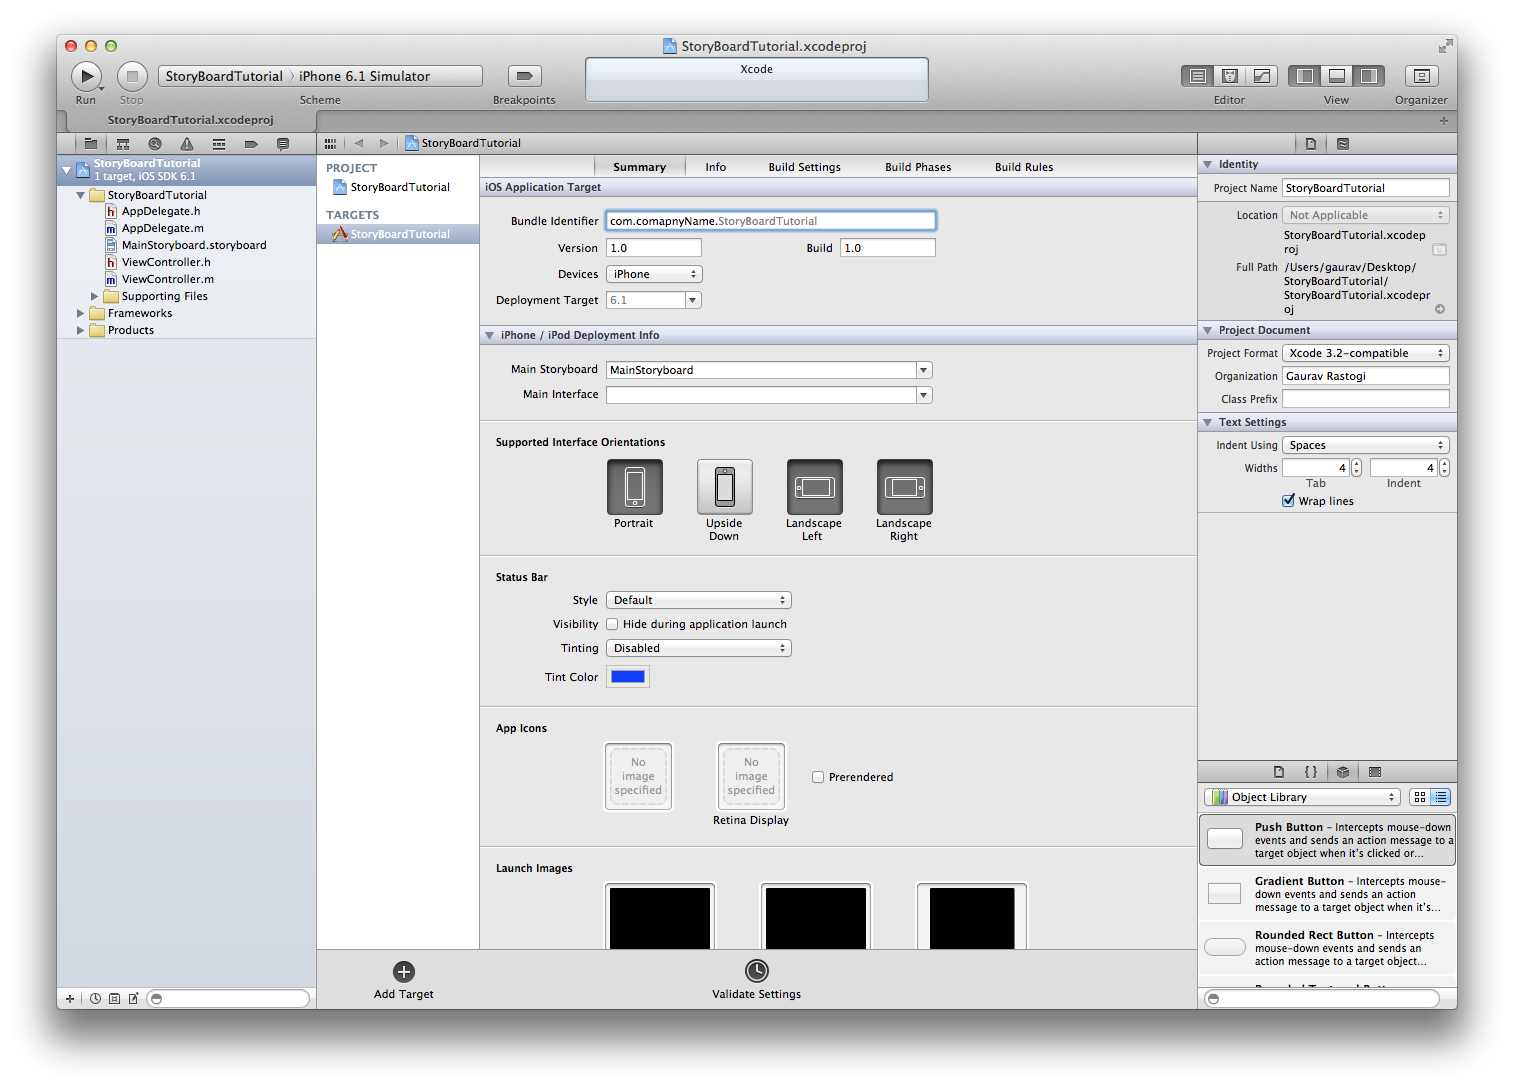
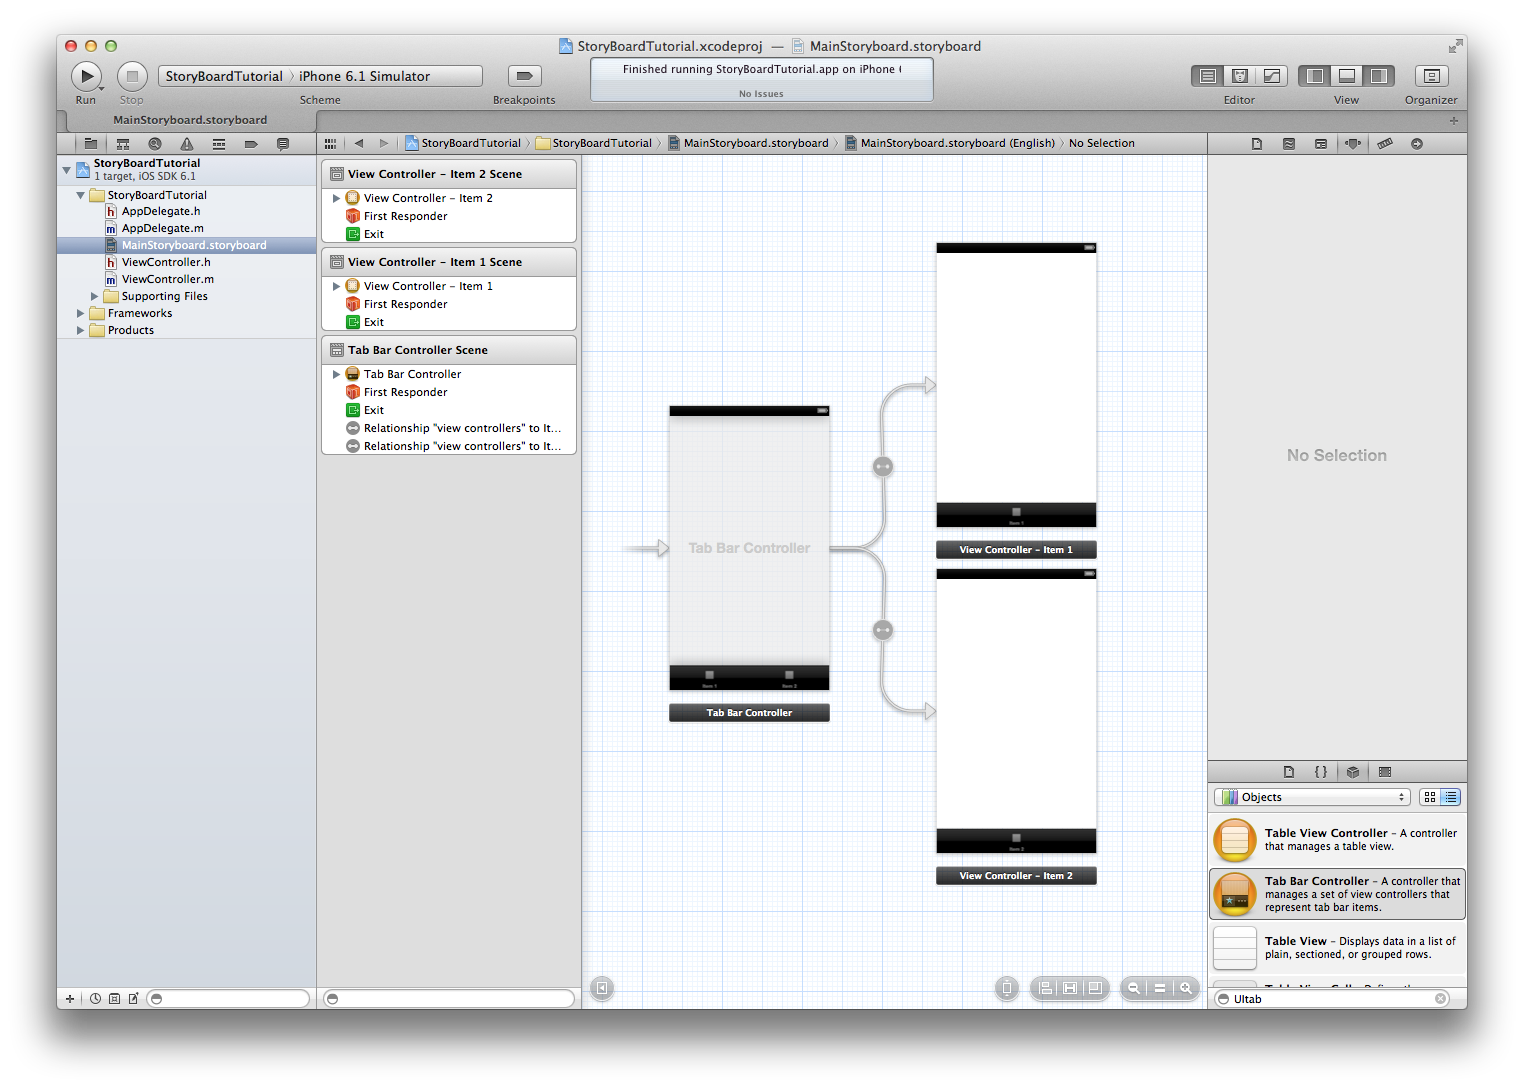
Step 2: Once your project has been created screen will look like this (below)
Now select the MainStoryboard.storyboard in the project navigator.
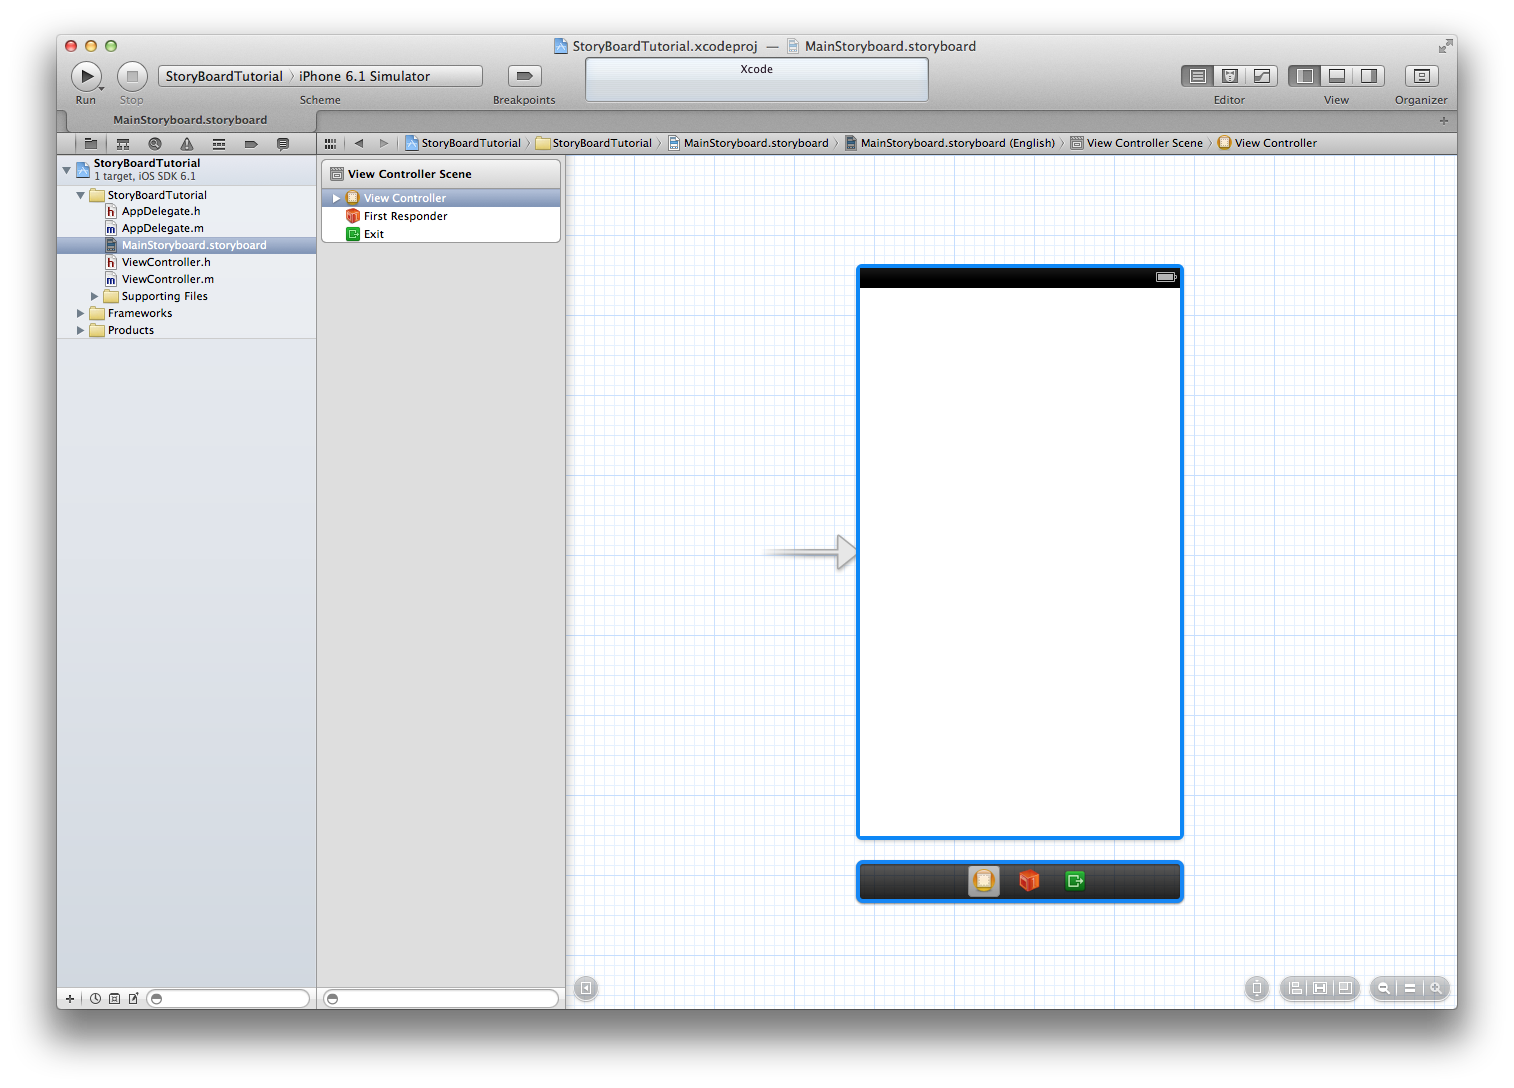
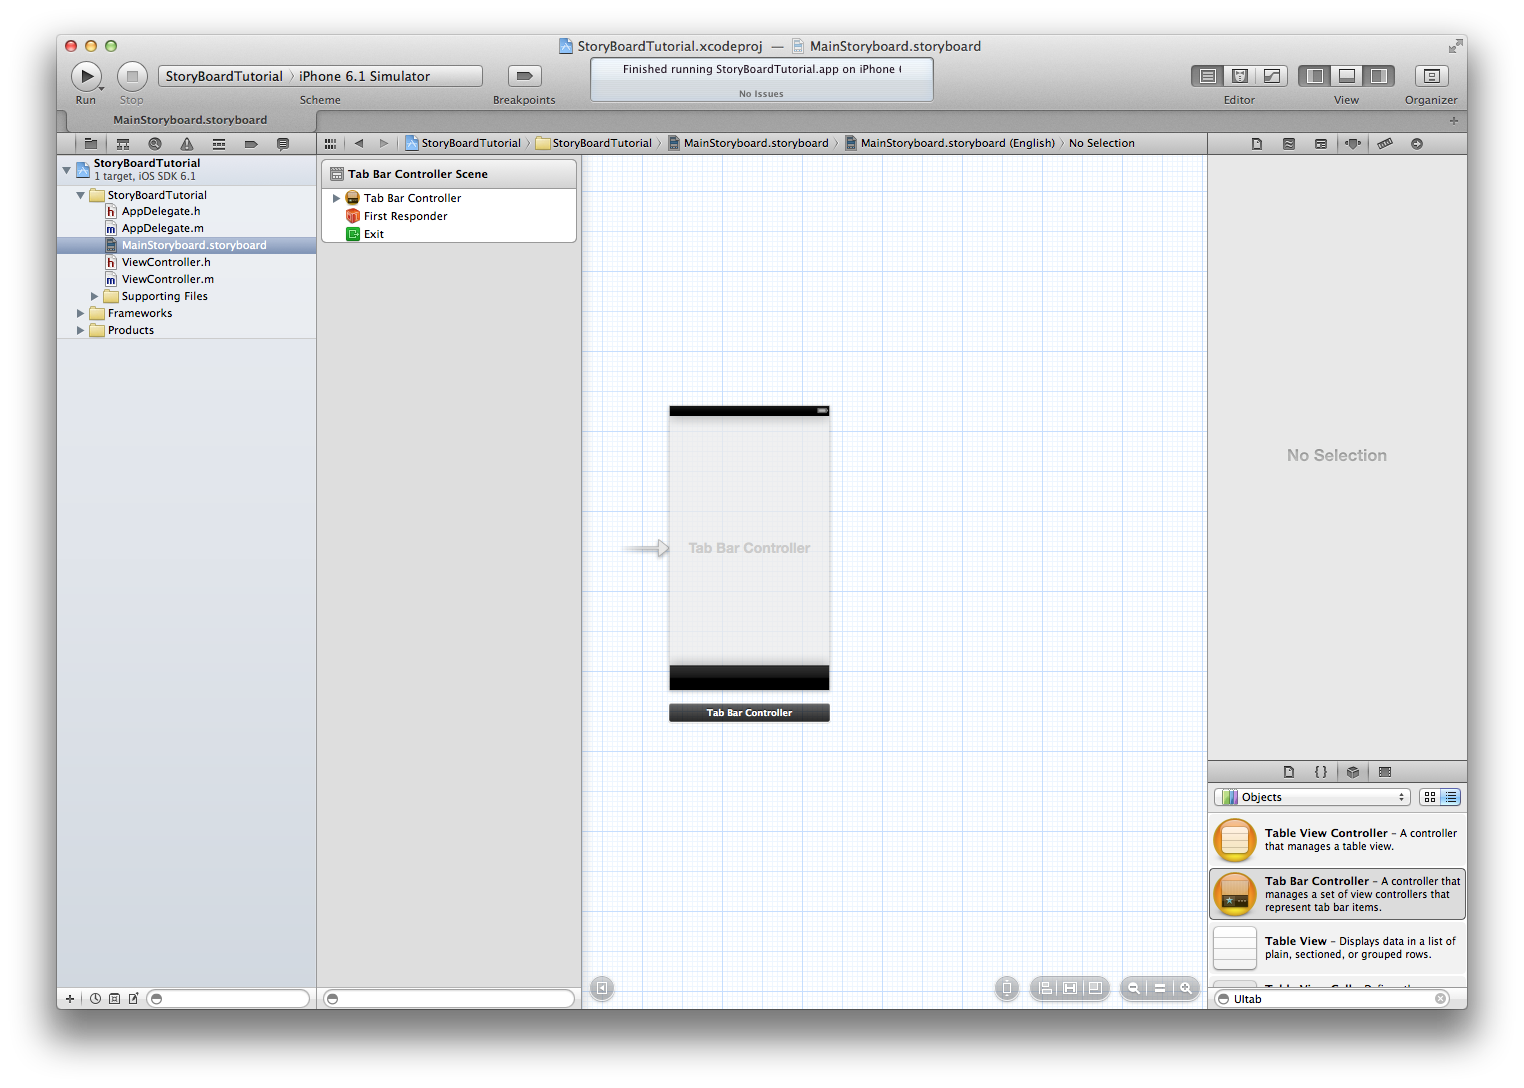
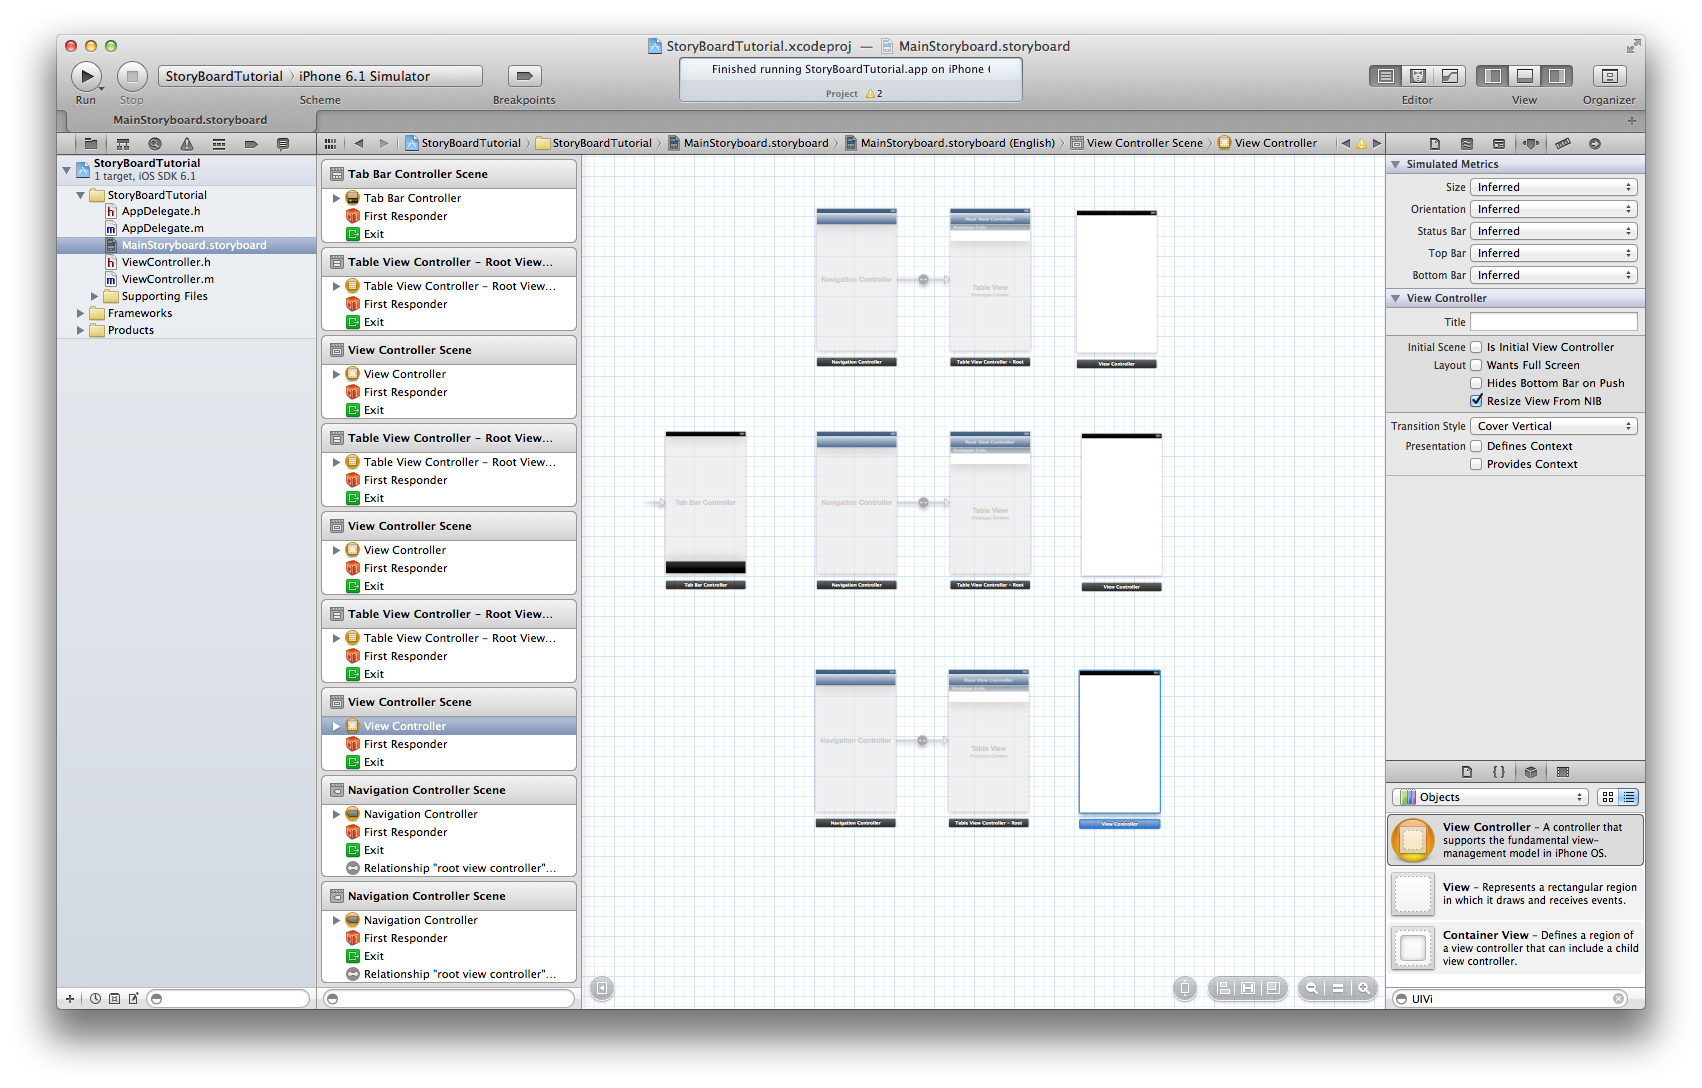
Step3: Xcode creates a default view controller (rootViewController) in the project. Remove default view controller and add one UITabBarController to the design canvas.
Delete the two view controllers attached to the UITabBarController.
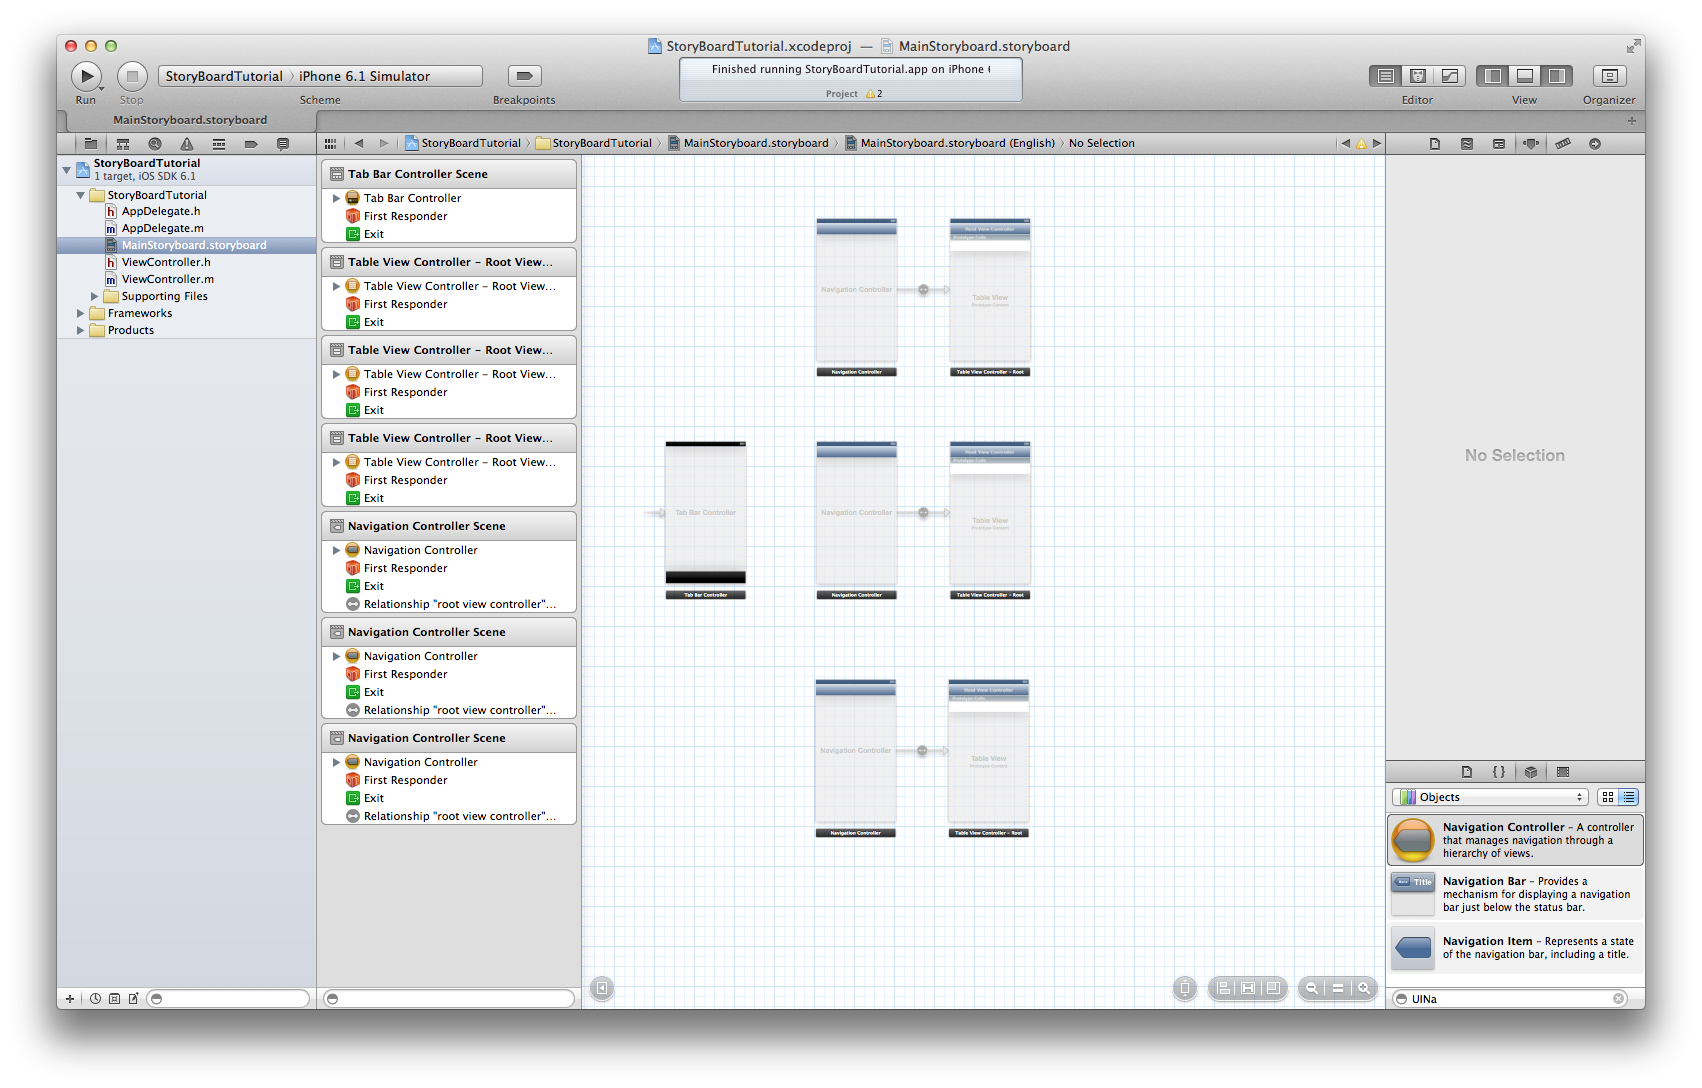
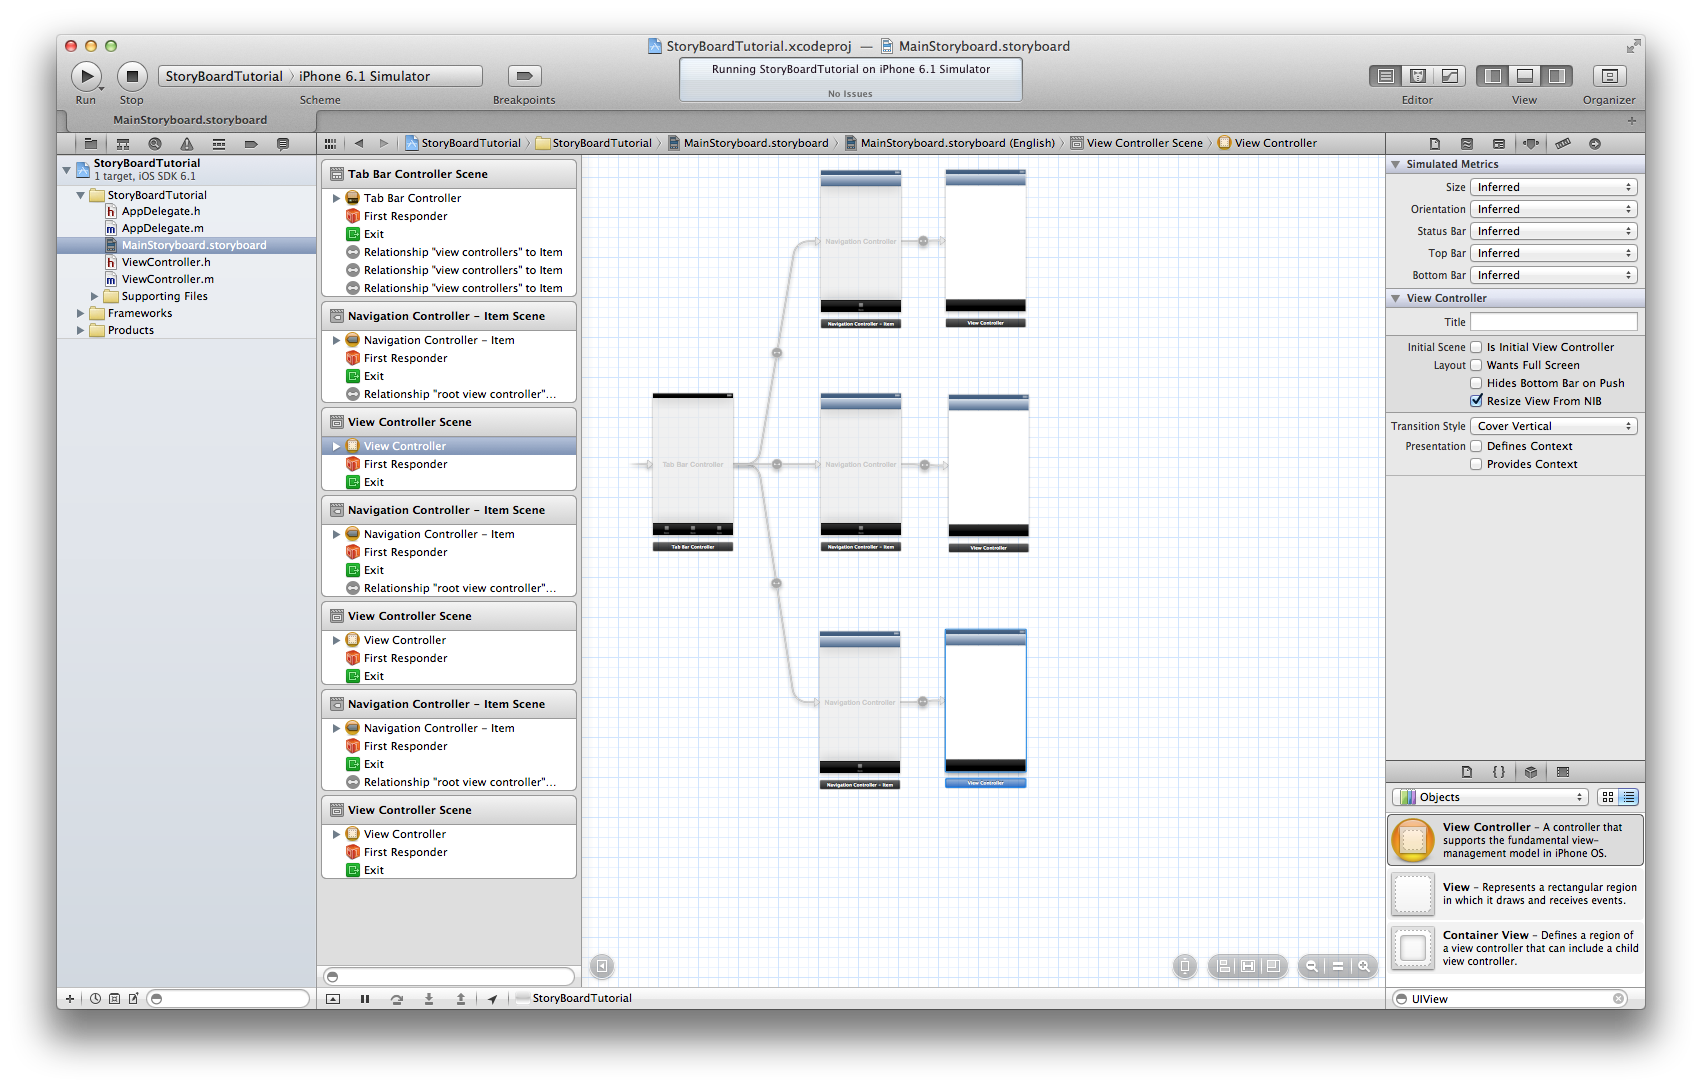
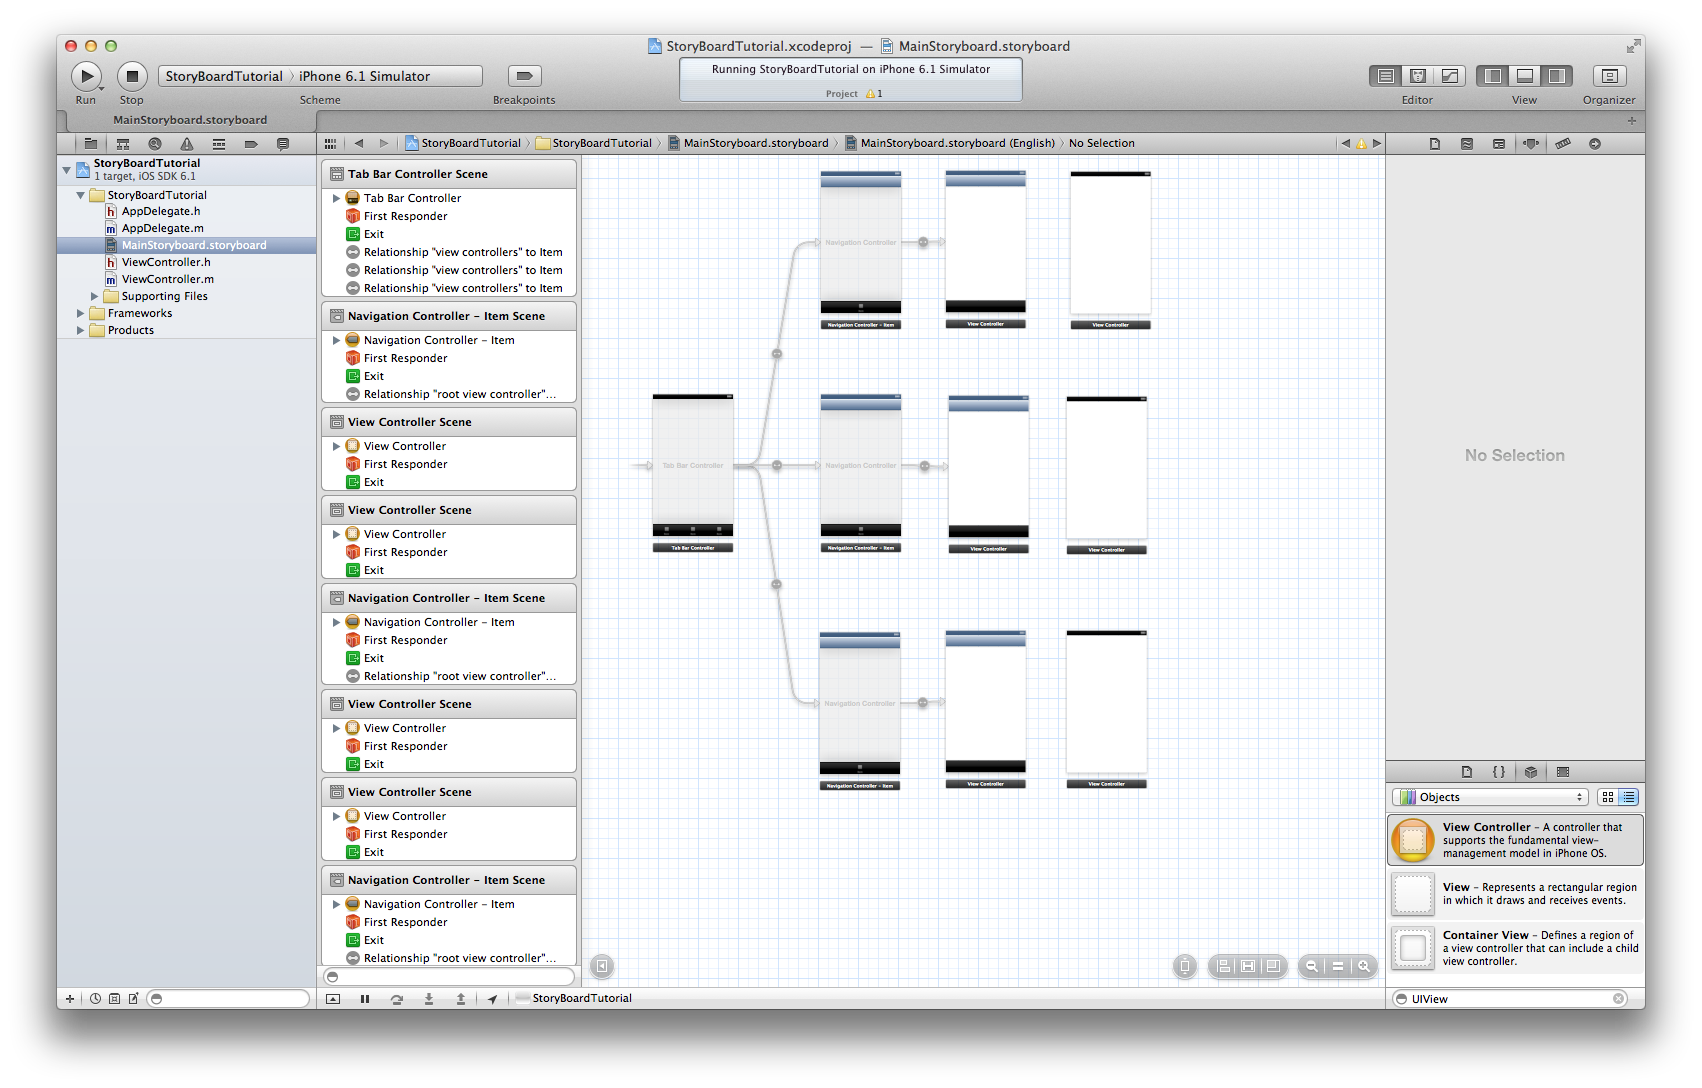
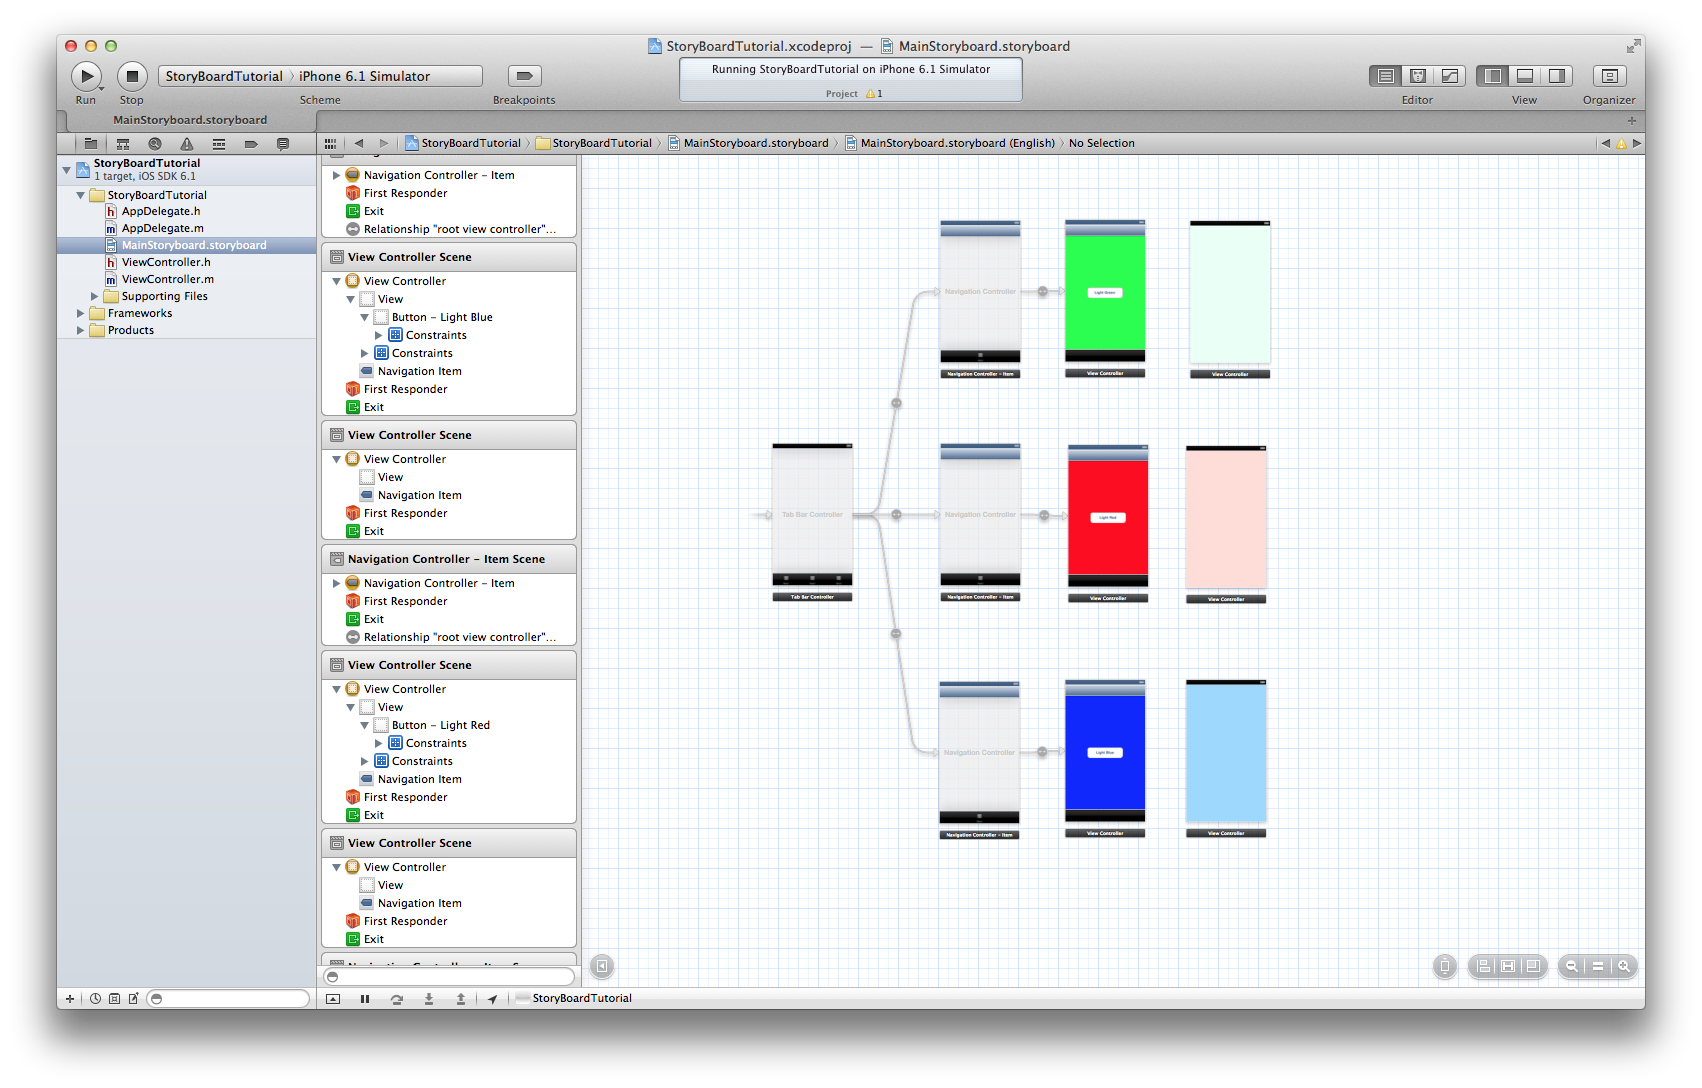
Step4: Now add three UINavigationControllers to the Canvas, so that your storyboard starts looking like the following snapshot.
First replace the three UITableViewControllers with the UIViewControllers( make them rootViewControllers of respective UINavigationController ) and also add three more UIViewControllers to the storyboard each in front of every previously added UIViewController (UIViewControllers in place of UITableVIewControllers).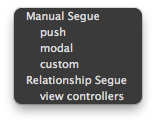
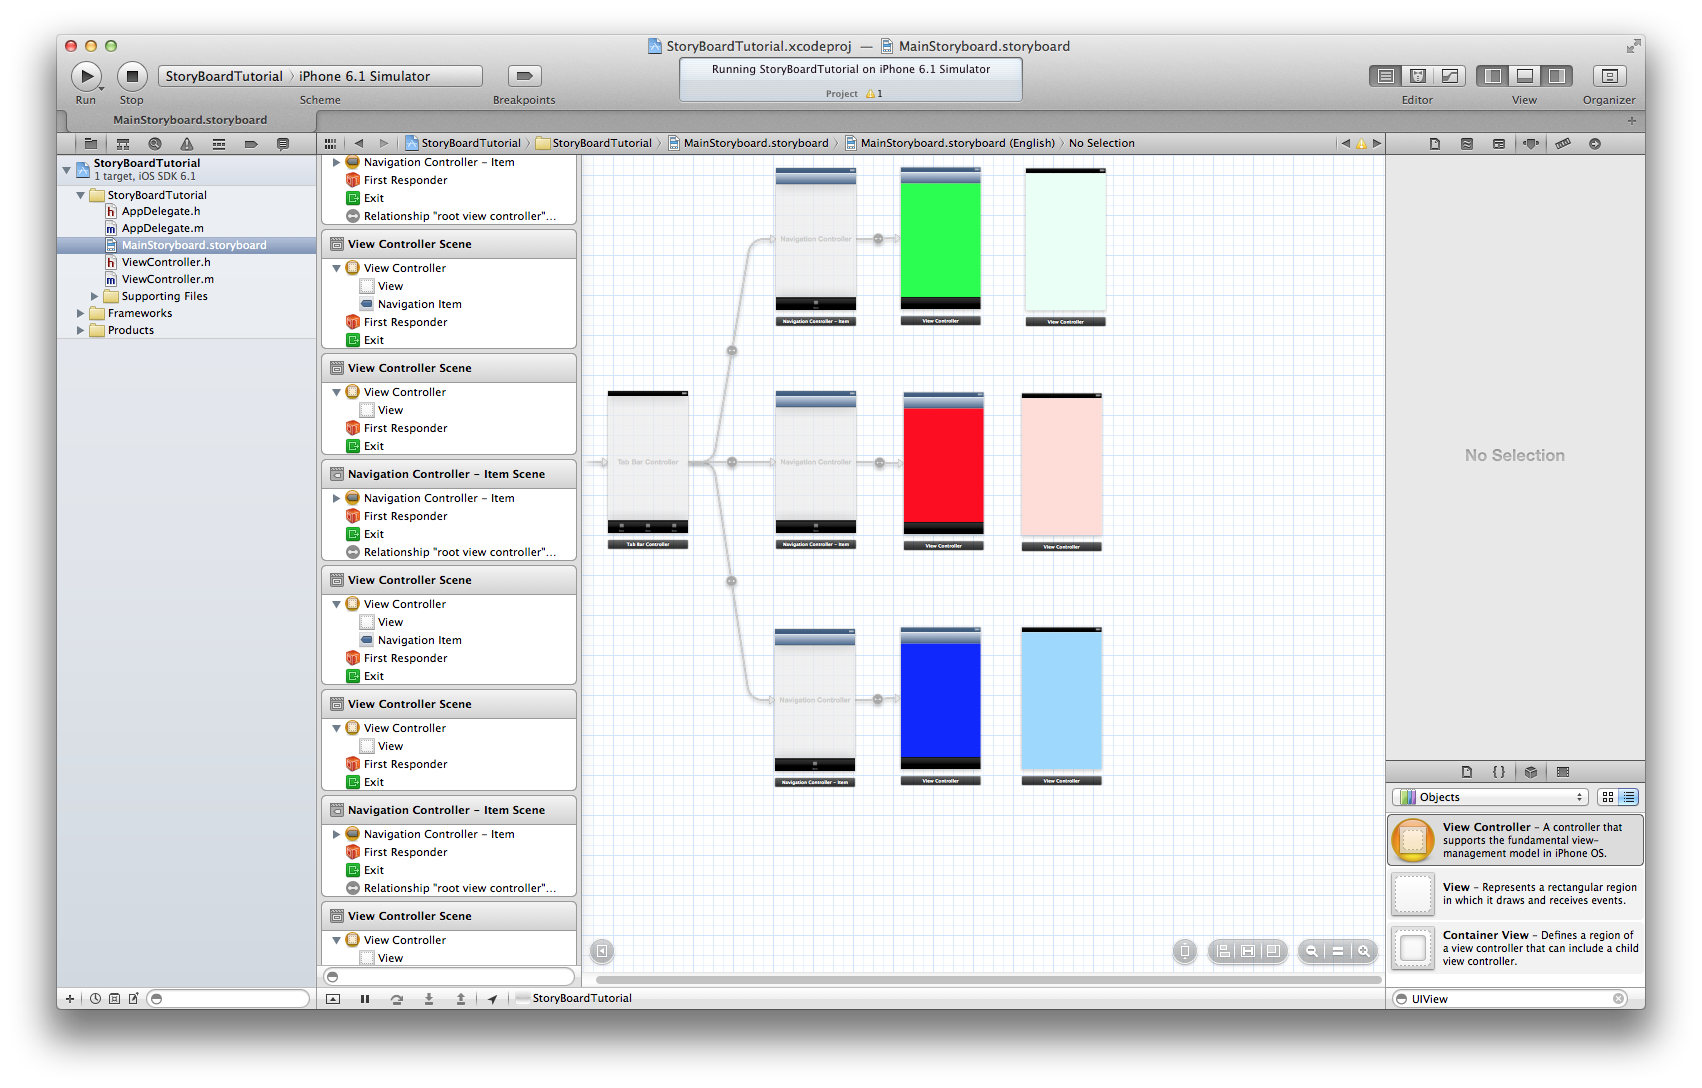
You can give different colour to each viewController’s view in order to identify them easily. In my case I have used the following colours.
Also add the three UIButtons to the Dark Colour ViewController.
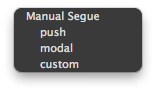
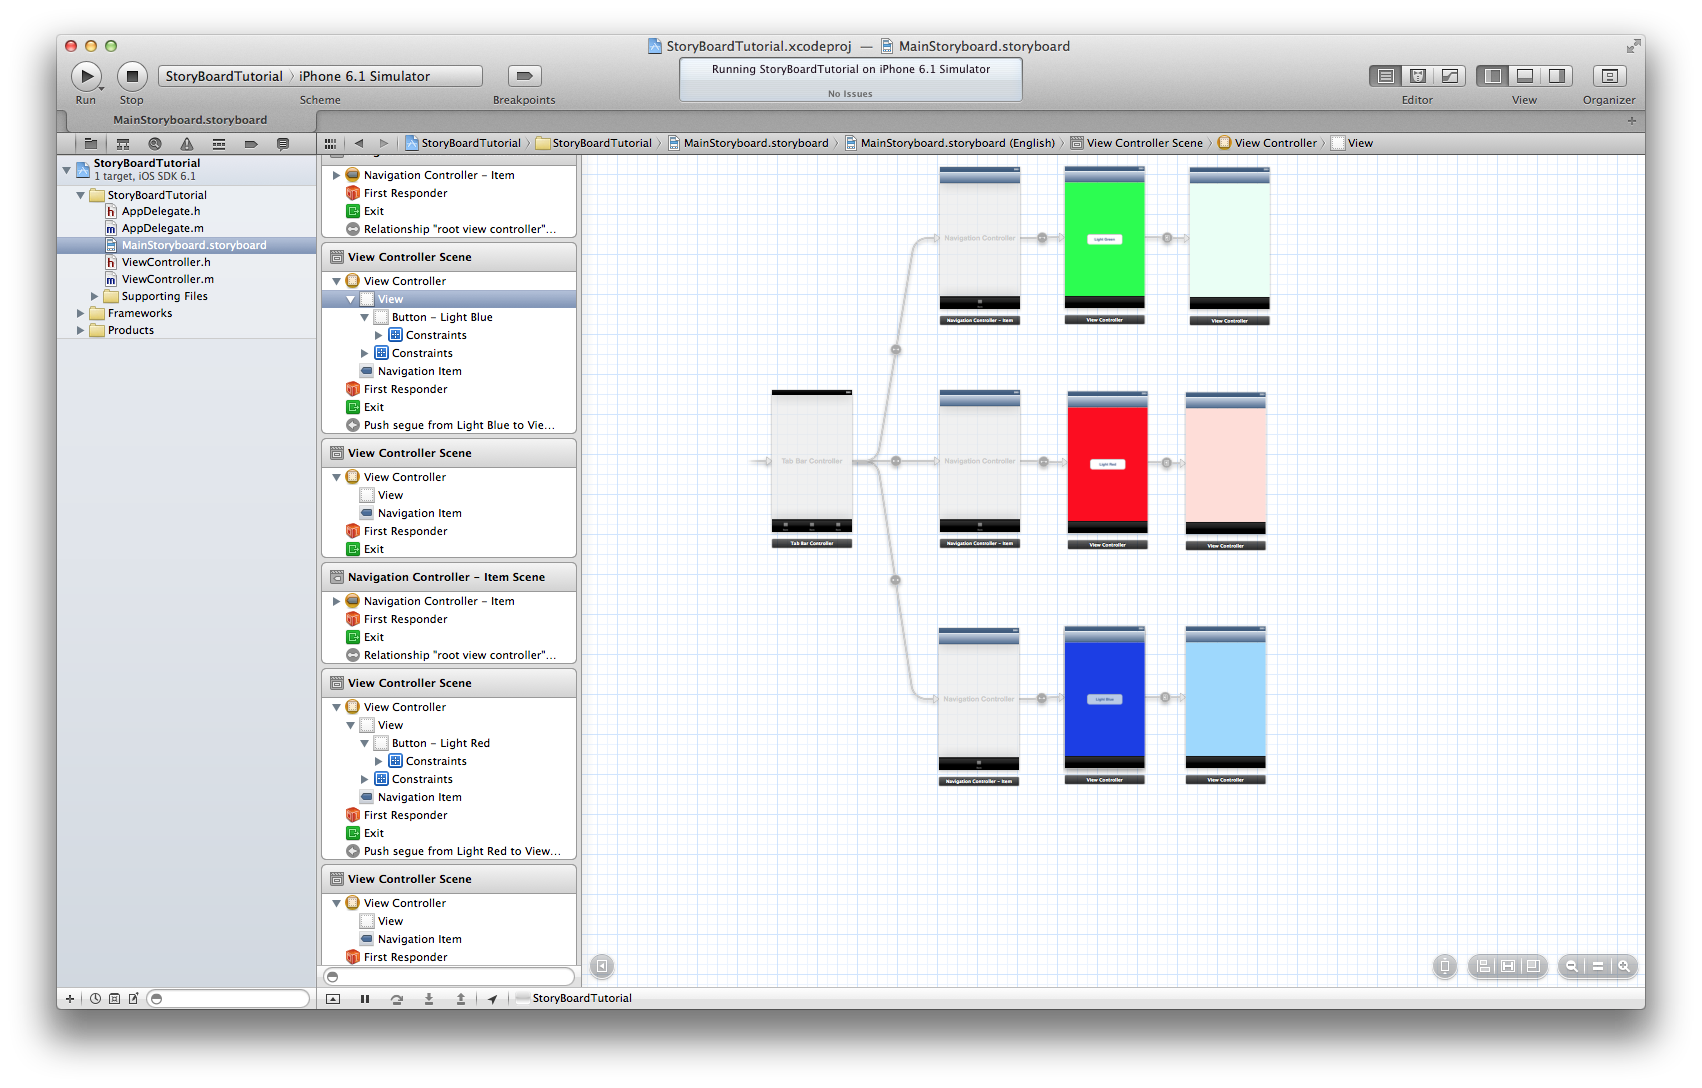
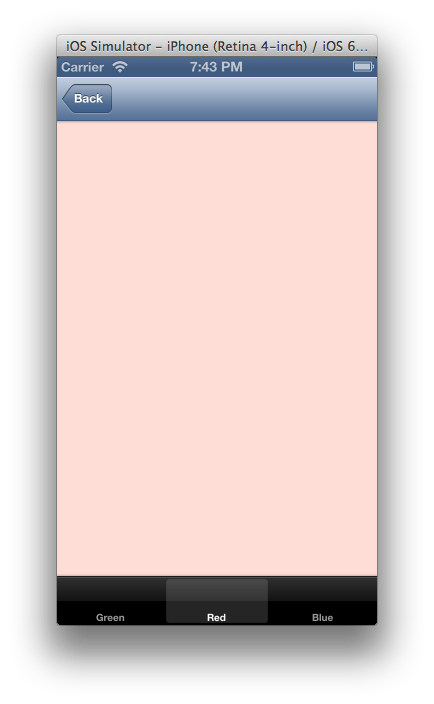
Step5: Here the DarkGreen, DardRed, DarkBlue viewControllers are set as the rootViewController of the respective UINavigationControllers what is left is to connect each the LightGreen, LightRed, LightBlue ViewController to the DarkGreen, DarkRed, DarkBlue viewControllers respectively. Now right click the mouse on UIButton present in the DarkGreen controller and drag it to LightGreen viewController, as you release the click the following window appears
Select “push” option provided in the following window. Repeat the step for DarkRed and DarkBlue ViewControllers. Now your Storyboard must look like the following
What is left now is to serve to the dish. Build & execute the project.
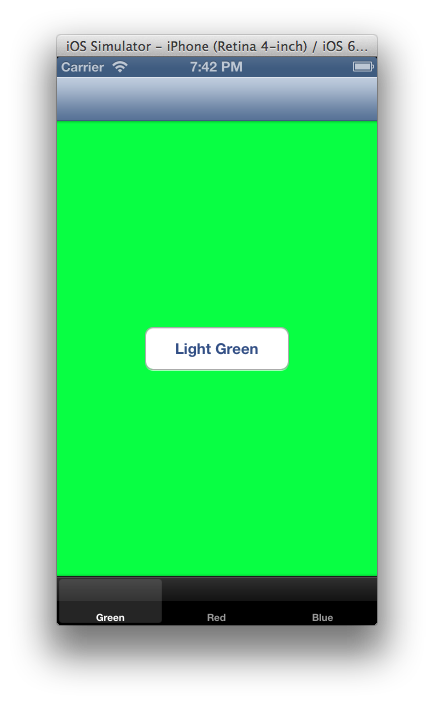
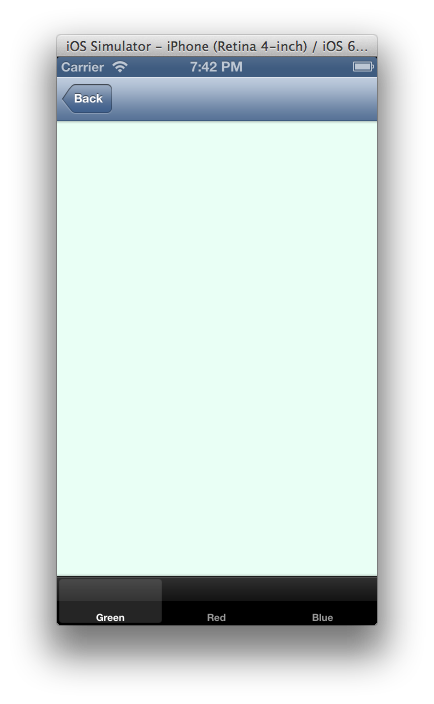
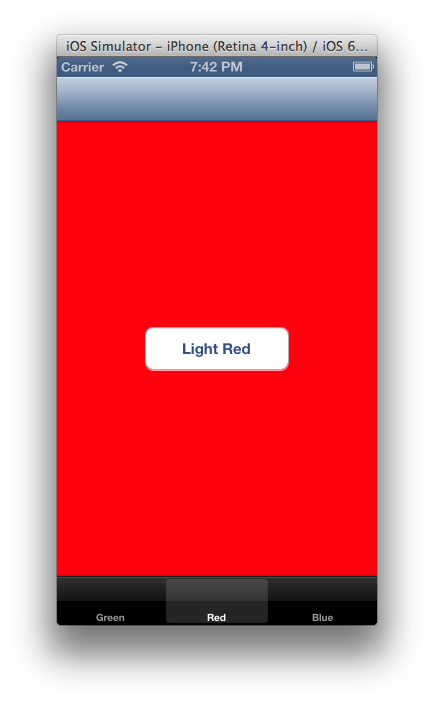
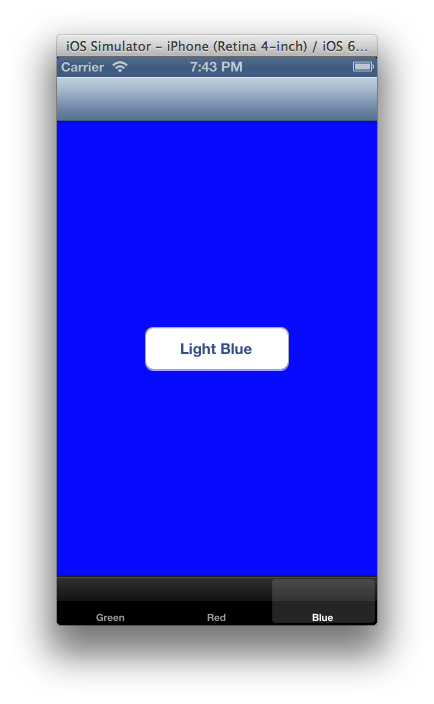
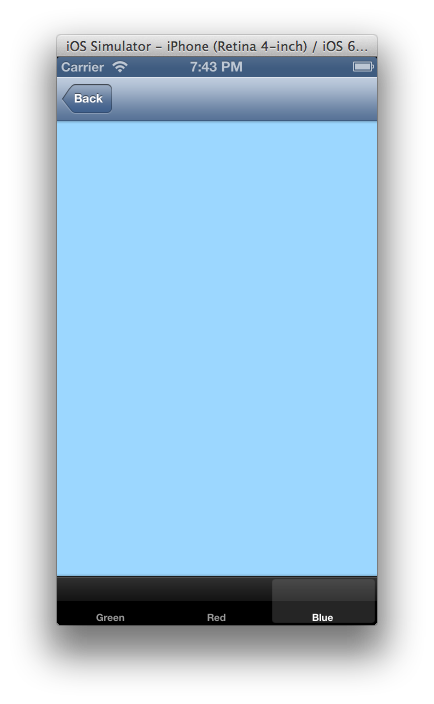
Congratulation without writing a single line of code here is your first iOS Tab based App using Storyboard
Happy Coding ![]()
By: Vipin Jain
About Vipin Jain
Vipin Jain (CEO / Founder of Konstant Infosolutions Pvt. Ltd.) Mobile App Provider (A Division of Konstant Infosolutions Pvt. Ltd.) has an exceptional team of highly experienced & dedicated mobile application and mobile website developers, business analysts and service personnels, effectively translating your business goals into a technical specification and online strategy. Read More View all posts by Vipin JainRecent Posts
Archives
- January 2026
- December 2025
- May 2022
- June 2019
- May 2019
- April 2019
- March 2019
- February 2019
- December 2018
- January 2018
- December 2017
- October 2017
- September 2017
- July 2017
- June 2017
- May 2017
- April 2017
- March 2015
- November 2014
- October 2014
- December 2013
- November 2013
- October 2013
- August 2013
- July 2013
- June 2013
- May 2013
- April 2013
- March 2013
- January 2013
- December 2012
- November 2012
- July 2012
- June 2012
- May 2012
- April 2012
- March 2012
- February 2012
- January 2012
- December 2011
- November 2011
- October 2011
- August 2011
- May 2011


